How to High Bun with Clip In Hair Extensions
Love styling your hair in a high bun but also love wearing your clip ins for extra thickness? We’ve got you covered! Read on for two techniques on how to create a high bun with clip in extensions.

Nothing’s more chic & sophisticated than a top knot bun! Whether its cute and messy or sleek and sophisticated. We know the struggle of wearing clip in hair extensions whilst creating an up-do. But don’t worry because with these simple tips & tricks, you’ll be able to achieve a high bun with clip in extensions.
How to High Bun with Clip In Hair Extensions - Technique #1

The first method can be applied to all up-dos when styling your clip in hair extensions! Ever wondered how our gorgeous customers create a boxer braid style using their ZALA’s? Here’s how!
Your extensions can be clipped in upside down or vertically! Yep, it’s that simple. This little trick helps to conceal the wefts and clips in any updo. Here’s how to create a messy high bun with clip ins:
- Section your hair as you would when applying your clip ins, however clip your first piece up high and in position where you want your bun to sit.
- For the high bun style, it’s important all pieces are clipped close together & in the correct position. This will make sure all wefts are hidden and your clip ins are undetectable!
- Once all pieces are clipped in, brush through any tangles and pull all your hair back into a high pony.
- Next, take your ponytail, twist and wrap around to create a big messy bun.
- Secure into place with bobby pins and you’re done!
How to High Bun with Clip In Hair Extensions - Technique #2

The second technique we love to use to achieve a sleek top knot bun is the bun doughnut technique! This trick is super simple and easy.
Here’s how to do a bun with clip in extensions with this method:
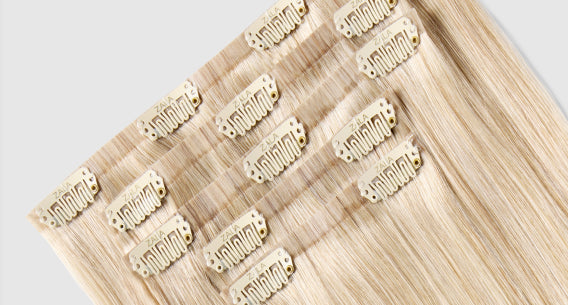
- Take a 3 or 5 clip piece from your set of ZALA clip ins.
- Hook the clips halfway down the side of your doughnut bun and pull all the hair through the middle. To make this easy, twist the hair together and thread through!
- Once all hair is in the middle, spread the hair around until it completely covers the bun doughnut.
- Pin the ends of the hair in place with bobby pins so that it all stays neatly in place.
- Repeat steps 3 & 4 with another piece if there are any sparse areas!
- Once your extension bun is ready to go, tie your natural hair back into a high pony and feed the bun over until it reaches the base of the pony.
- Like you did with the extensions, spread your natural hair over the bun & pin into place.
There you have it! Exactly how to achieve both a sleek and messy, thick high bun using hair extensions. Don’t forget to show us your looks featuring your ZALA’s with the hashtag #zalahairextensions
Share This Post:
