HOW TO REMOVE TAPE-IN EXTENSIONS: A GUIDE
There are a lot of hair extensions available these days on the market and it can get a little overwhelming when deciding which one to buy. Here at Zala, hair extensions are available in lengths ranging from 12 inches to up to 30 inches and in shades of black, brown, blonde, platinum, and even red. There are clip-in extensions, tape-in extensions, weave-in extensions, halo extensions, ponytail extensions, and volumizers.
But what if you already have hair extensions and you want to remove or replace them? In today’s article, we’ll show you how to remove tape-in extensions the safe and easy way.

REMOVING TAPE-IN EXTENSIONS
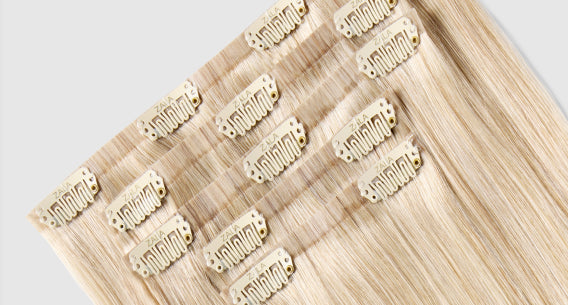
First things first. Tape-in hair extensions are the kind of hair extensions that have adhesive on the base of the weft pieces. To wear them, you have to sandwich a thin strip of your hair between the adhesives of two tape-in extensions as close to the roots as possible.
Although tape-ins provide the same length and volume as clip-in extensions, they’re much easier to hide, especially for people with thinner strands. This is because they’re a lot flatter at the base and can be cut into smaller pieces.
The problem is that compared to clip-ins, tape-ins can be worn for a longer period of time as they are a semi-permanent solution. Removal is also harder since your hair is in between adhesives, which means you could accidentally pull out your own hair if you do it in the wrong way.
DIY: HOW TO REMOVE TAPE-IN EXTENSIONS
If you really aren’t sure how to remove tape-in extensions, the best course of action would be to get a qualified hairdresser to remove them for you.
However, this isn’t always possible. In this guide, we’ll tell you how to take out tape-in extensions by yourself using the Zala Tape-In Hair Extensions Re-Application Pack.
1. APPLY SOLVENT
The first thing you should do is to put some solvent like the Zala Tape Hair Extensions Remover on the adhesive part of your tape-ins. You only need to spray a decent amount to the part of your hair near the roots that are sandwiched between the extensions.
Remember, you have to completely saturate the adhesive with the remover so that the extensions can come off easily.
2. MASSAGE YOUR HAIR
Next, loosen your hair and the tapes by moving them around a bit. Massage the tapes until they just slide down your hair effortlessly. Doing so will ensure that you won’t accidentally pull your own strands when you remove them.
3. COMB FROM DOWN UP
After sliding off most of the hair extensions, comb your strands to smoothen them. It’s normal to see remnant tapes and naturally fallen hair stuck near your roots due to the tape-ins and you have to comb thoroughly to prevent the remaining glue and hair from matting.
Start from the tips to your roots since you’re basically spreading the solvent more evenly on your hair. If there are tangles, remember to gently comb through them, or else you’ll end up pulling out your own strands.
4. REPEAT UNTIL DONE
Sometimes, the solvent may not completely remove the adhesive, especially if you didn’t soak the tapes through. When this happens, you simply have to apply more solvent and massage and comb your hair repeatedly until you’ve completely removed the tape-ins from your hair.
The process of removing tape-in extensions takes more time than just clipping them off like clip-ins or pulling them off like halos. But considering the fact that you only have to remove and reinstall tape-ins every 6-8 weeks, it’s completely worth it.
Most importantly, with practice, you’ll eventually discover your own process and become an expert on how to remove tape-in hair extensions.
Need more hair extension tips and tricks? Don’t forget to check out our Zala blog!
Share This Post:


