Harley Quinn Hair Tutorial
Halloween is right around the corner, scream queens! Have you left your costume to the last minute and need some halloween hair inspo? Look no further! We've got you sorted with this badass Harley Quinn hairstyle! If you loved Suicide Squad as much as we did, you will LOVE this Harley Quinn hair tutorial!
So, Harley Quinn is known for those voluminous dip-dye pigtails. If you're wanting to go as Harley this year but your pigtails look at little sad, we got you covered at ZALA! We love using hair extensions to throw together a quick and easy halloween costume. Here's what you'll need:
- 2 x ZALA ponytail extensions for the perfect Harley hair
- ZALA Cosmo Wand to style your pigtails
- A tail comb
- 2 x hair elastics
- Bobby pins
- Blue & red hair chalk
HARLEY QUINN HAIR TUTORIAL

- Start by brushing through your hair to ensure everything is tangle free.
- Next, take your tail comb and part your hair neatly down the middle.
- Create two high pigtails on either side. Once both are secured, pull out sections from the front of your hair to frame your face.
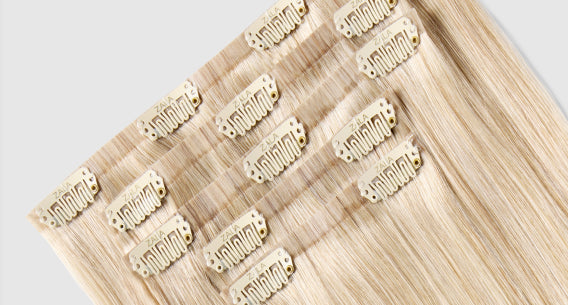
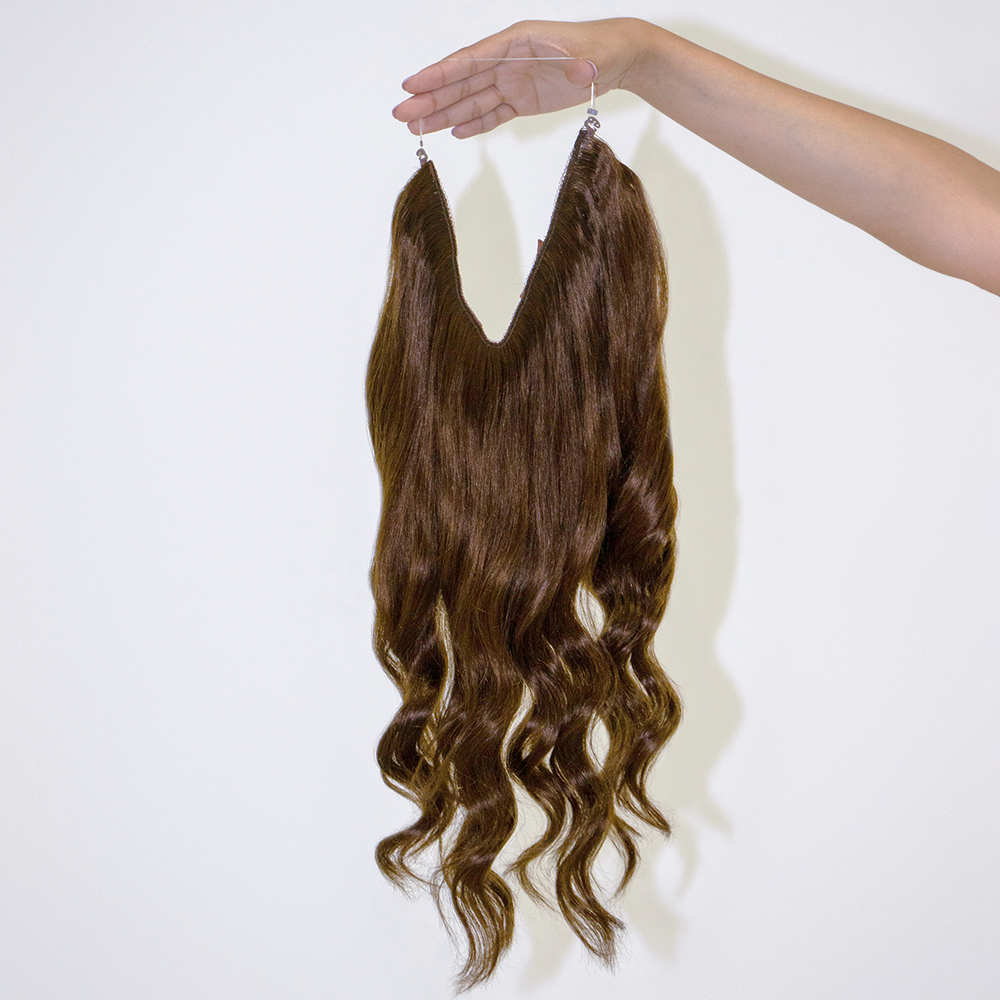
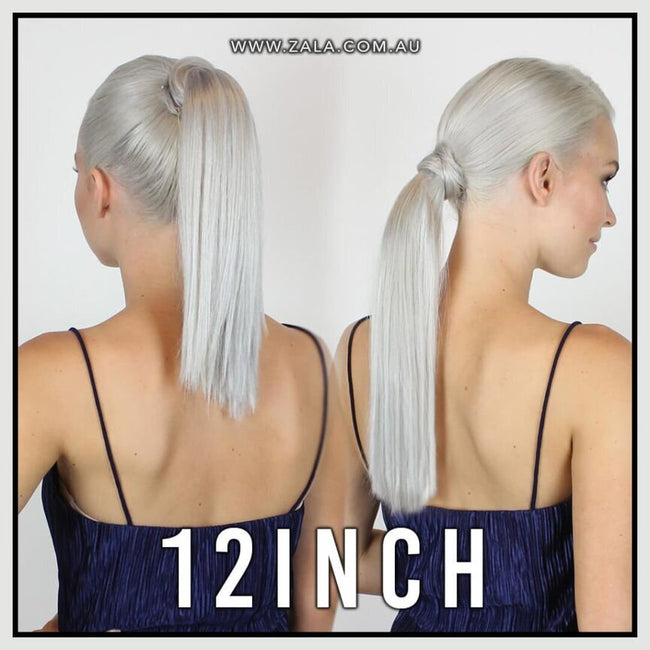
- Now, if your pigtails are lacking volume and length, it's time to apply your ZALA ponytail hair extensions! Simply hook into the base of your pony, wrap around to secure the velcro closure and bobby pin in place. You'll instantly have the perfect Harley Quinn pigtails with tonnes of volume. No back-combing needed!
- Curl your ponytails using a wand with a large barrel size. Our go-to styling tool for Harley's look is the ZALA Cosmo Curling Wand with the 32mm attachment. This creates the perfect Harley Quinn curls.
- Finish by applying your coloured hair chalk. Take sections of hair and rub on the chalk to dispense colour. Hair chalk is perfect to use on your extensions as the colour can be easily washed out.
And there you have it! The perfect Harley Quinn look, made easy with ZALA hair extensions. Check out the full tutorial below, along with two other hair-raising halloween hairstyles.
Share This Post:
